Some people like to decorate their large travel backpacks. Adding some stickers, patches or sewing pudding to your backpack is a symbolic artwork that can make your backpack more meaningful and unique. So how to sew the patch on your carry on backpack?

1. Make sure the backpack is clean
2. Obtain the patch and place it where you want to place it. Use a few pins or a few safety pins to fix it where you want to place it. Make sure to choose a location that allows you to enter the inside or the other side. If you can get inside, it will be easier to hold.
3. Take some thread whose color is similar to the color of the edge of the patch, cut off about 20-30 cm, wear a strong and thin needle and keep it single, do not double it, and finally tie the knot
4. Cut off the excess thread after knotting, but leave about 1cm after knotting
5. First pull the line from behind the patch to hide the first knot.
6. Use the "whip stitch" to bypass the patch. This involves grabbing some infrastructure, then grabbing some patches, and then repeating the step.

7. At the last lap, wind the needle around the stitch twice, then pull it out, and then pass the needle from below the needle to move the needle away from the edge of the needle, and then cut the thread closer to the patch. This will leave some threads under the patch.
Tips:
You may need to use a thimble to push the needle through the patch, especially if the patch is thick.
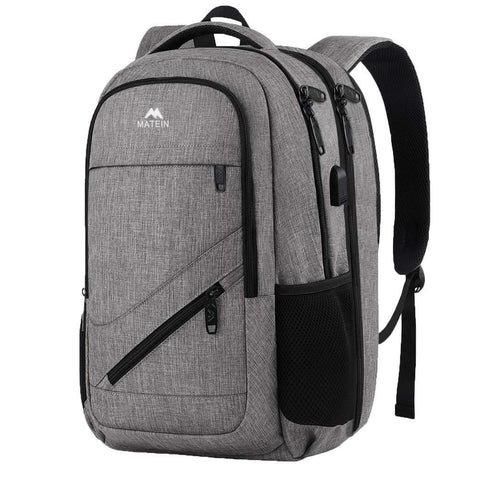
Matein student backpack recommendation